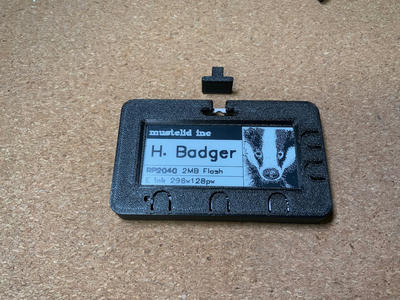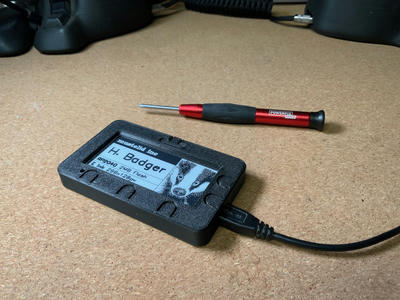
This is my version of a 3D printable enclosure for the Badger 2040w. A hackable, programmable badge with E-Ink® display powered by the Raspberry Pi RP2040. This exceptionally affordable badge is sold by Pimoroni: Badger 2040w
The case has the following features:
All buttons are accessible (five buttons on the front and two buttons on the back)
- Optionally, use magnets to make the case stick to magnetic surfaces (e.g. on a refrigerator). You can also use the magnets to attach other add-ons to the case. There are notches on the back to align the case with an add-on.
- The cutout for the display always looks good, even if the e-paper display is not always in the same place.
- You can modify the case yourself because STEP files are included.
The case consists of a few plastic parts which are easily printable without support on any 3D printer. In addition to the plastic parts, you only need four 2 mm (pointed) screws with a length of 10 mm and optionally two magnets, each with a diameter of 10 mm and a thickness of 2 mm.
Overall Required Parts & Materials
- 1 xTop.stl
- 1 xBottom.stl
- 1 xBezel.stl
- 1 xFill.stl
Instructions
Display bezel
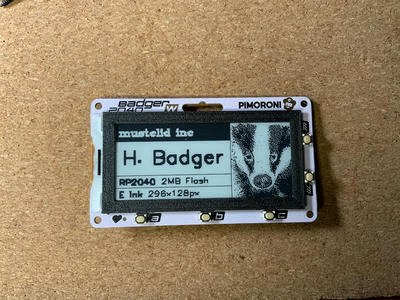
Stick the display bezel onto the display with thin double-sided adhesive tape. A strip of tape on the short side where there are no buttons is sufficient (on the left side in this image).
Used in this step:
Bottom part
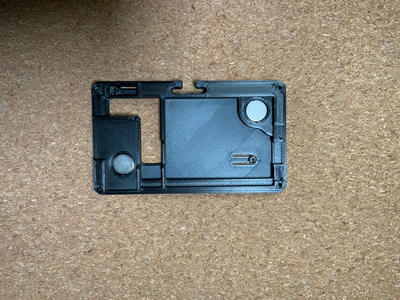
If you want to use magnets, put one in each of the holes.
Used in this step:
Badger on top
Put the Badger 2040w on top of the bottom part.
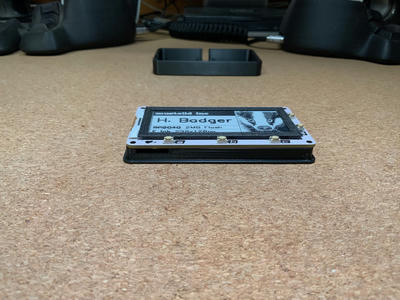
Add the top part
And screw the bottom and top halves together.
Used in this step:
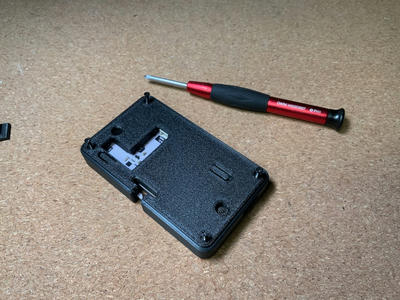
Filler piece
If you don't want to wear the badge on a lanyard, you can close the hole for the clip with the filler piece.
Used in this step: