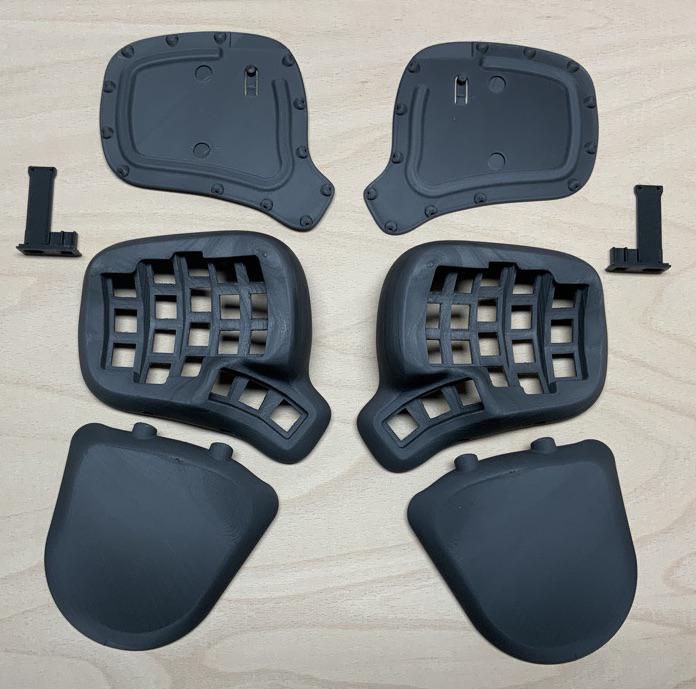
3D-printed parts
Print a test piece
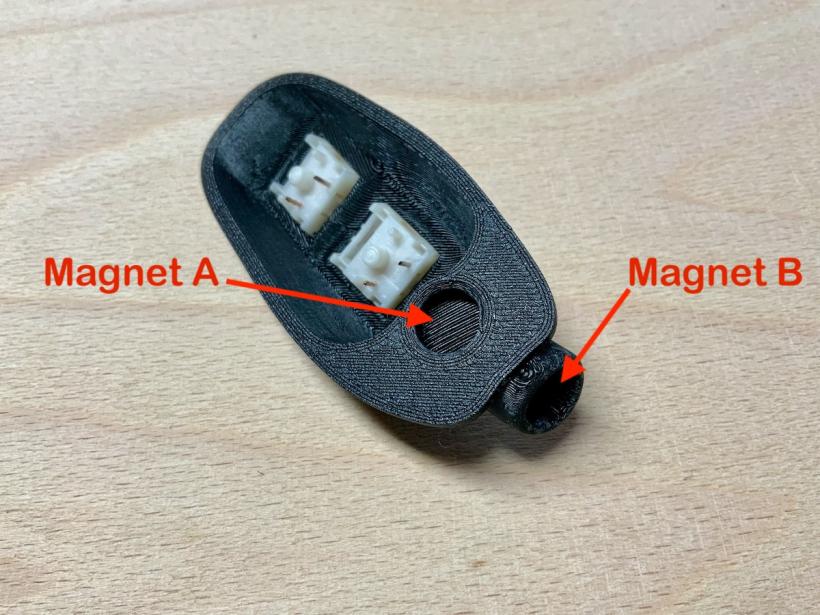
First of all, please print the test piece with support (download Test.stl.zip). The STL file contains a part with holes for a few buttons and holes for the magnets. These are the critical points that have to fit.
You will get the best surface with these PrusaSlicer settings:
- Layer Height: 0.15mm
- Horizontal shells, Solid layers, Top: 10
- Horizontal shells, Solid layers, Bottom: 10
- Infill, Fill density: 25%
- Variable layer height: Adaptive
The part should look like this:
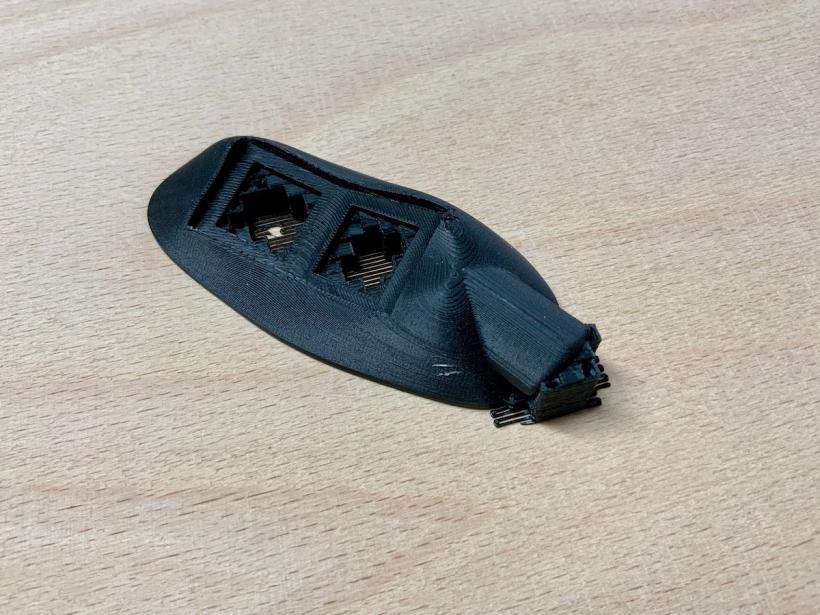
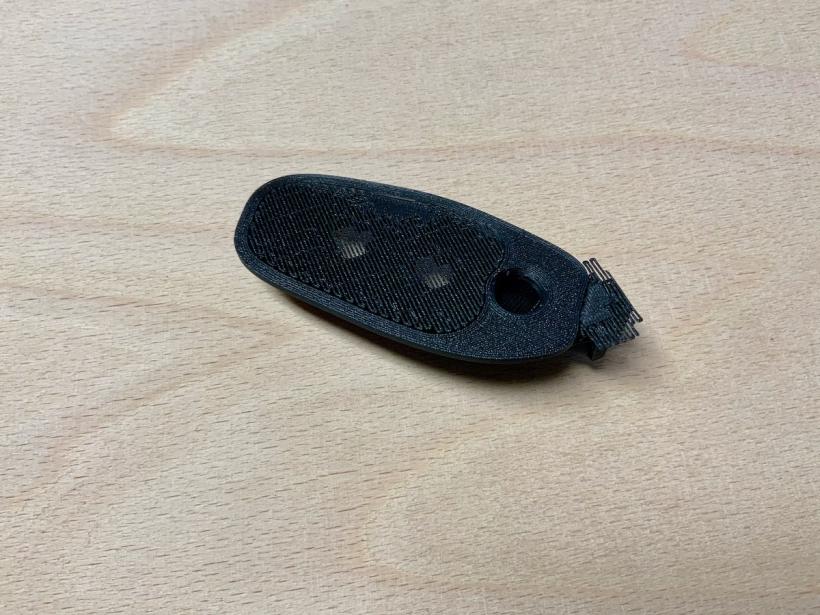
Make sure you can remove the support and you are able to insert the mechanical switches and that the switches are tight.
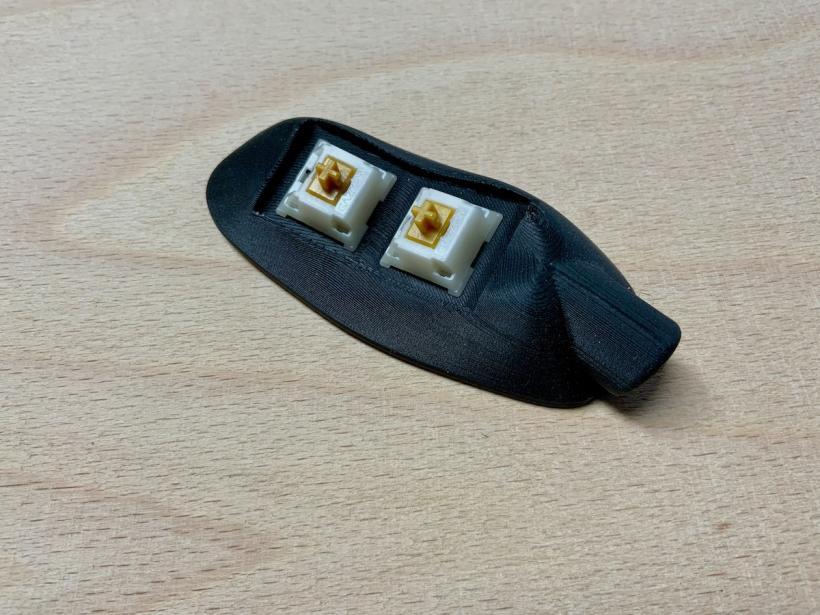
You should be able to insert the 10 x 2 mm magnets without cracking the housing. With magnet B, a slight pressure may be necessary for this. Don't press magnet B all the way into the housing so you can get it out again (it is only a test piece).
I create my own print files with the PrusaSlicer. For the keyboard I use a layer thickness of 0.15 mm. In addition, I activate the adaptive layer height. This reduces the layer thickness in some places, depending on the slope of the surface. With these settings, printing a keyboard case without a wrist rest takes about 25 hours, but the result is really good. And what are a few hours more for printing if you later work with the keyboard every day? I think it's worth it.
Print the keyboard parts
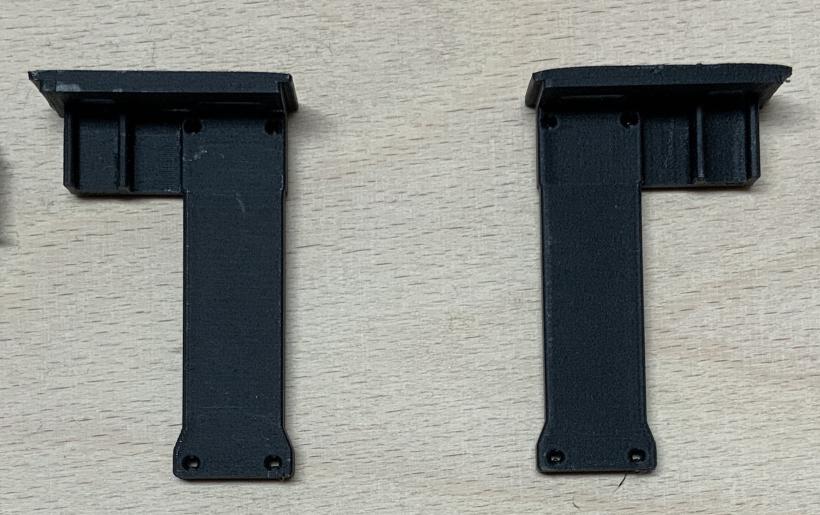
First print the two slide-in modules for the microcontrollers without support.
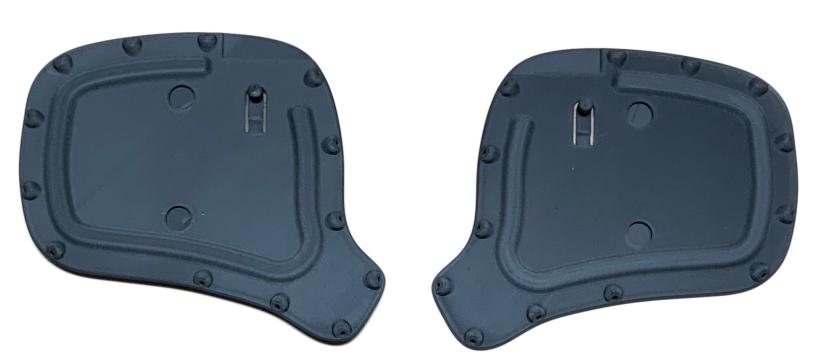
Next, the base plates. Here you don't need any support. By the way, the right side is not a mirror of the left side, even if it looks that way. The buttons are in different places.
Now print both keyboard housings (right and left) with support. In the picture you can see the finished print of the right keyboard housing from below. Remove the support and the thin skirt step by step. The skirt increases the adhesion to the print bed during printing. It will not be needed later on and you can remove it with a cutter.
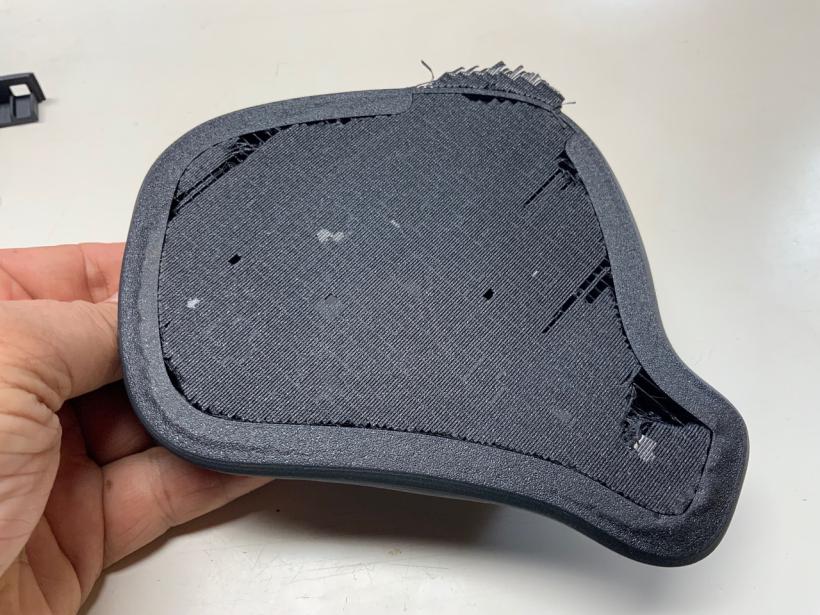
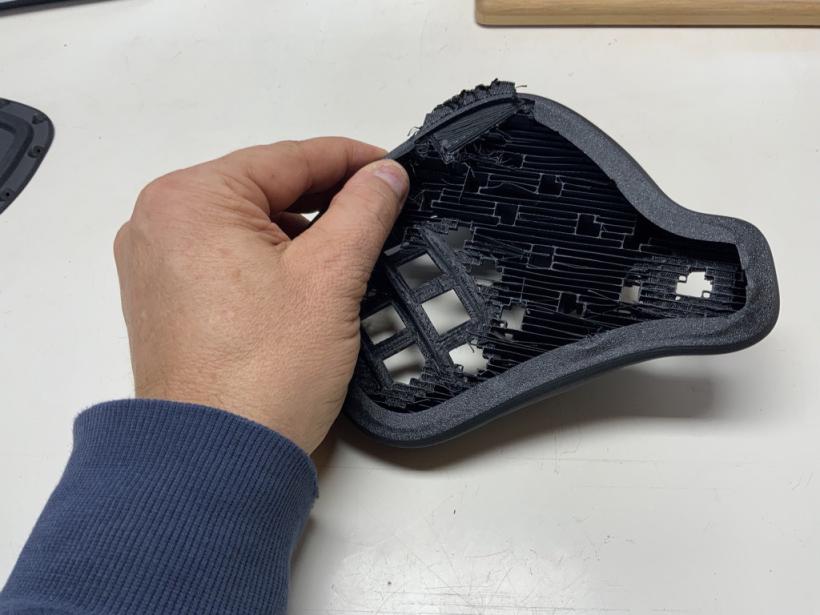
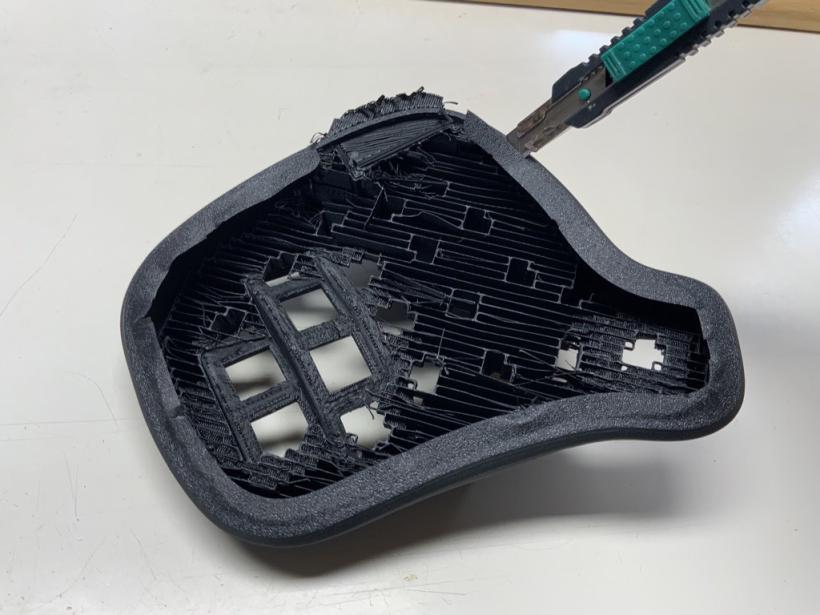
Remove the remaining support material with needle-nose pliers.
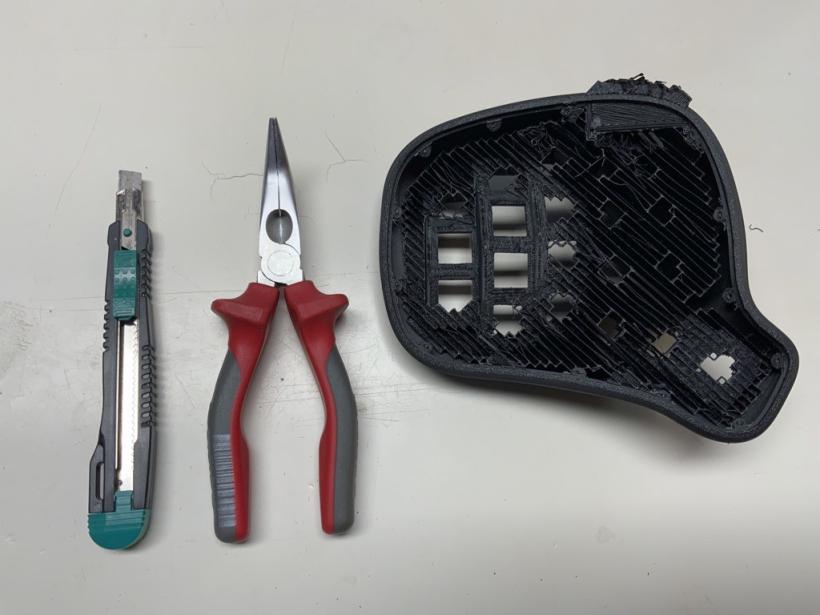
Your keyboard half should now look like this:
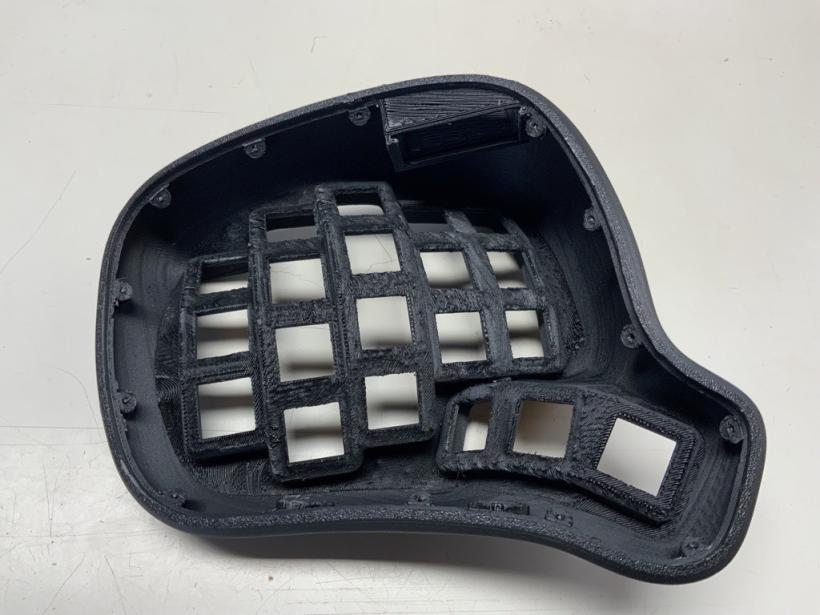
From above:
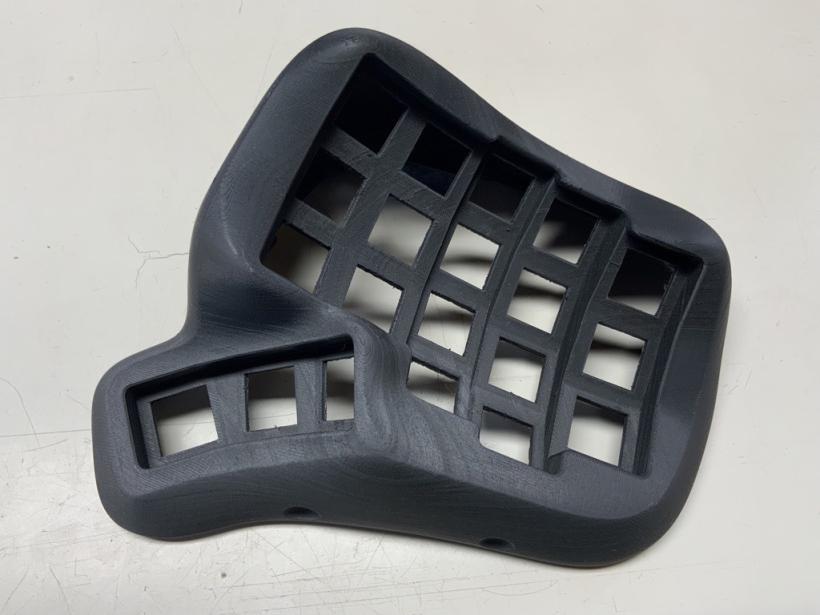
At this stage you can check whether the slide-in module fits into the keyboard. Normally, it can easily be pushed into the slots. If not, remove some material from the slots or the sides of the module with a cutter.
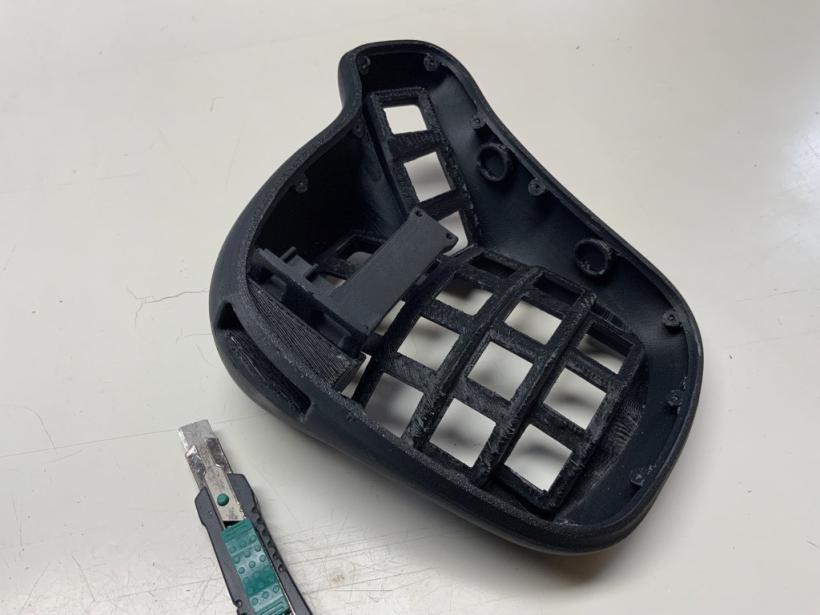
Proceed in the same way with the other keyboard housing.
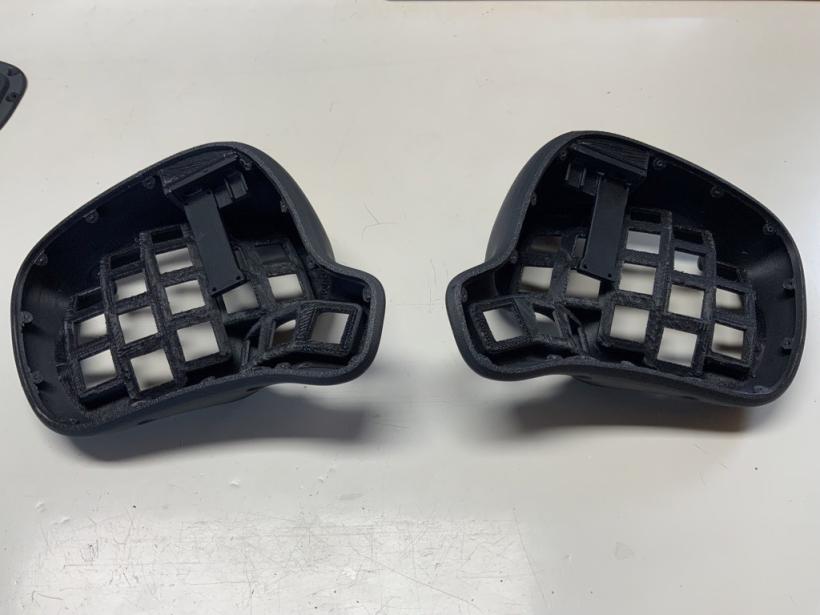
Finally, print the two wrist rests with support. Remove the support from the holes for the magnets. Here you can see all the printed parts.
