Wrist rests
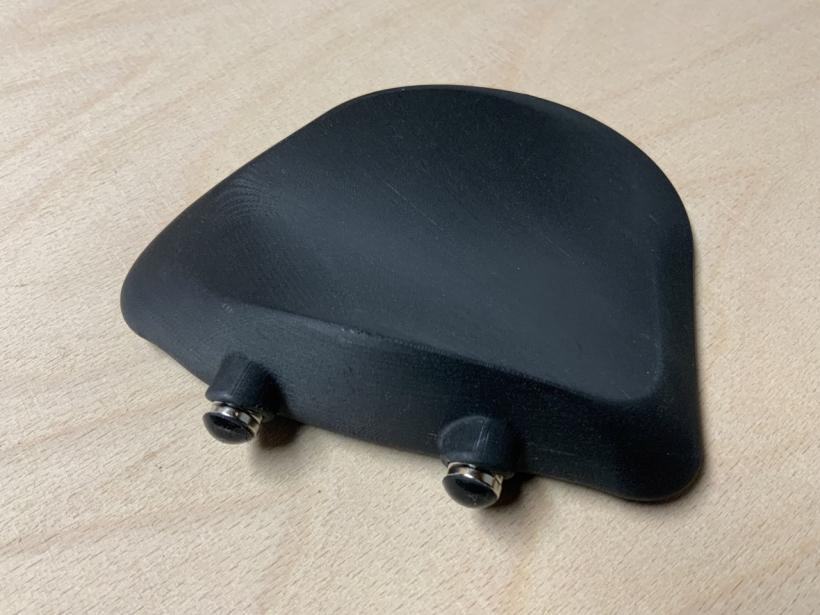
Attach four rubber feet under each wrist rest. Place the feet slightly offset so that they do not rest on top of each other when you place the wrist rests together bottom to bottom.


Now glue two magnets into each of the holes using super glue. Make sure that these magnets have the same orientation as the magnets in the keyboard housing to which the wrist rest will later snap.

Now it's time for the magnets at the front end of the wrist rests. You need at least 10 per wrist rest. Put five in each hole. Align the magnets so that they are attracted by the magnets in the keyboard half. Usually it is enough to press the magnets in. You don't have to glue them.

If you don't want to change the distance between the wrist rest and the keyboard, then stick one of the rubber feet directly onto each of the magnets you just inserted.

You can also add more magnets and attach the rubber feet to the last magnets. In this way, you can change the distance between the wrist rest and the keyboard by adding or removing magnets.
Congratulations!
You have now completely assembled the keyboard hardware. Together with the wrist rests it should look like this:
